

Four independent triggers
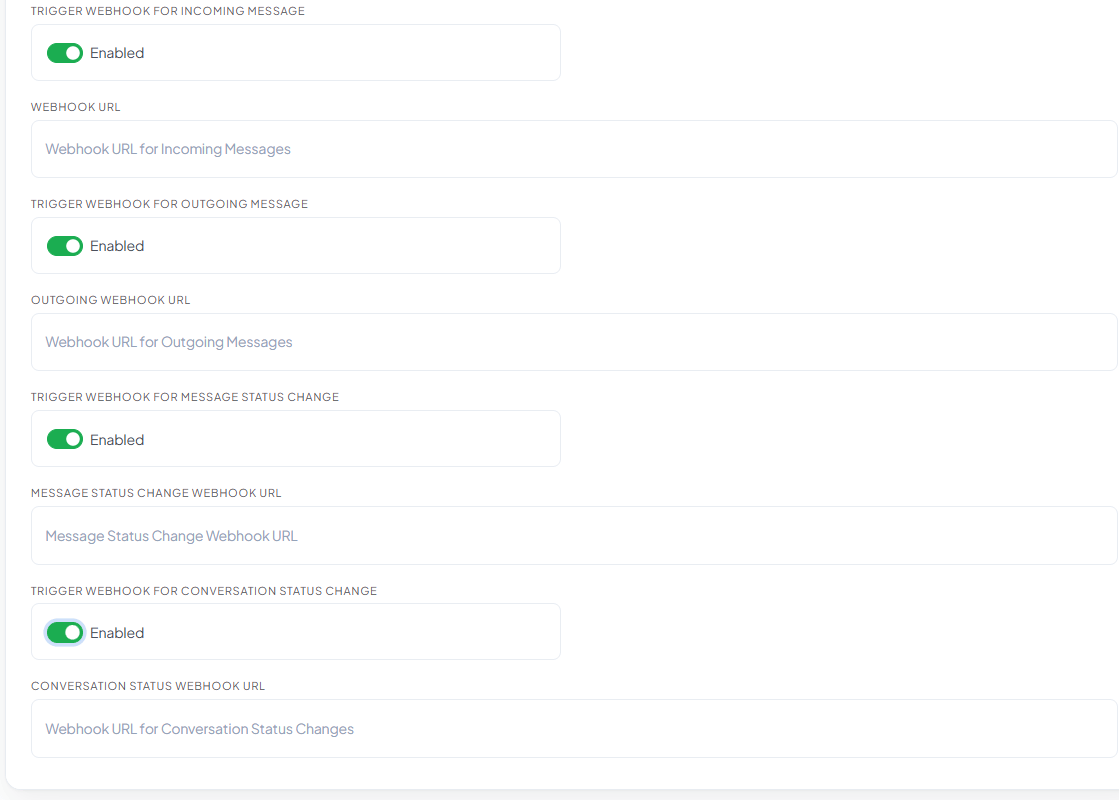
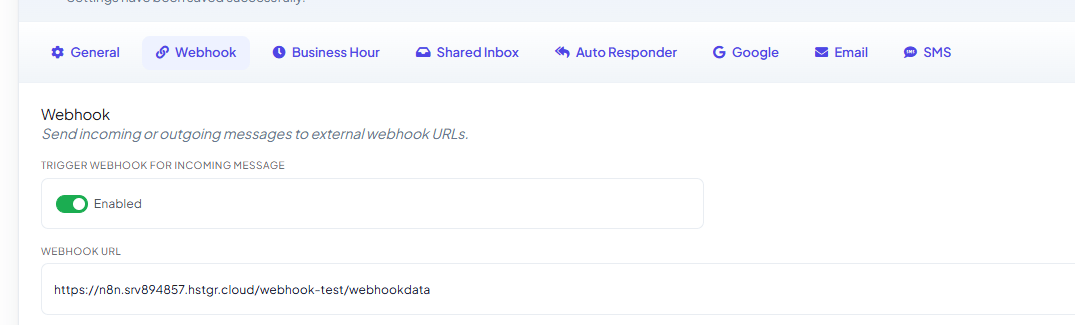
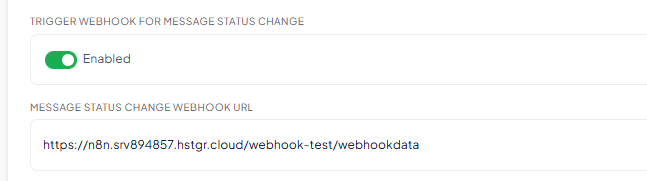
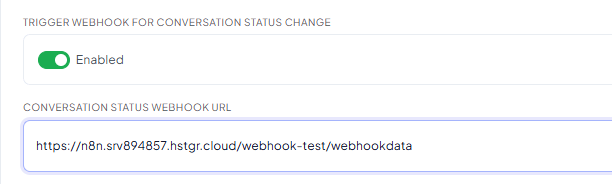
Each trigger is independent — enable any combination, and each has its own Webhook URL field
so they can point at the same endpoint or four different ones.
1
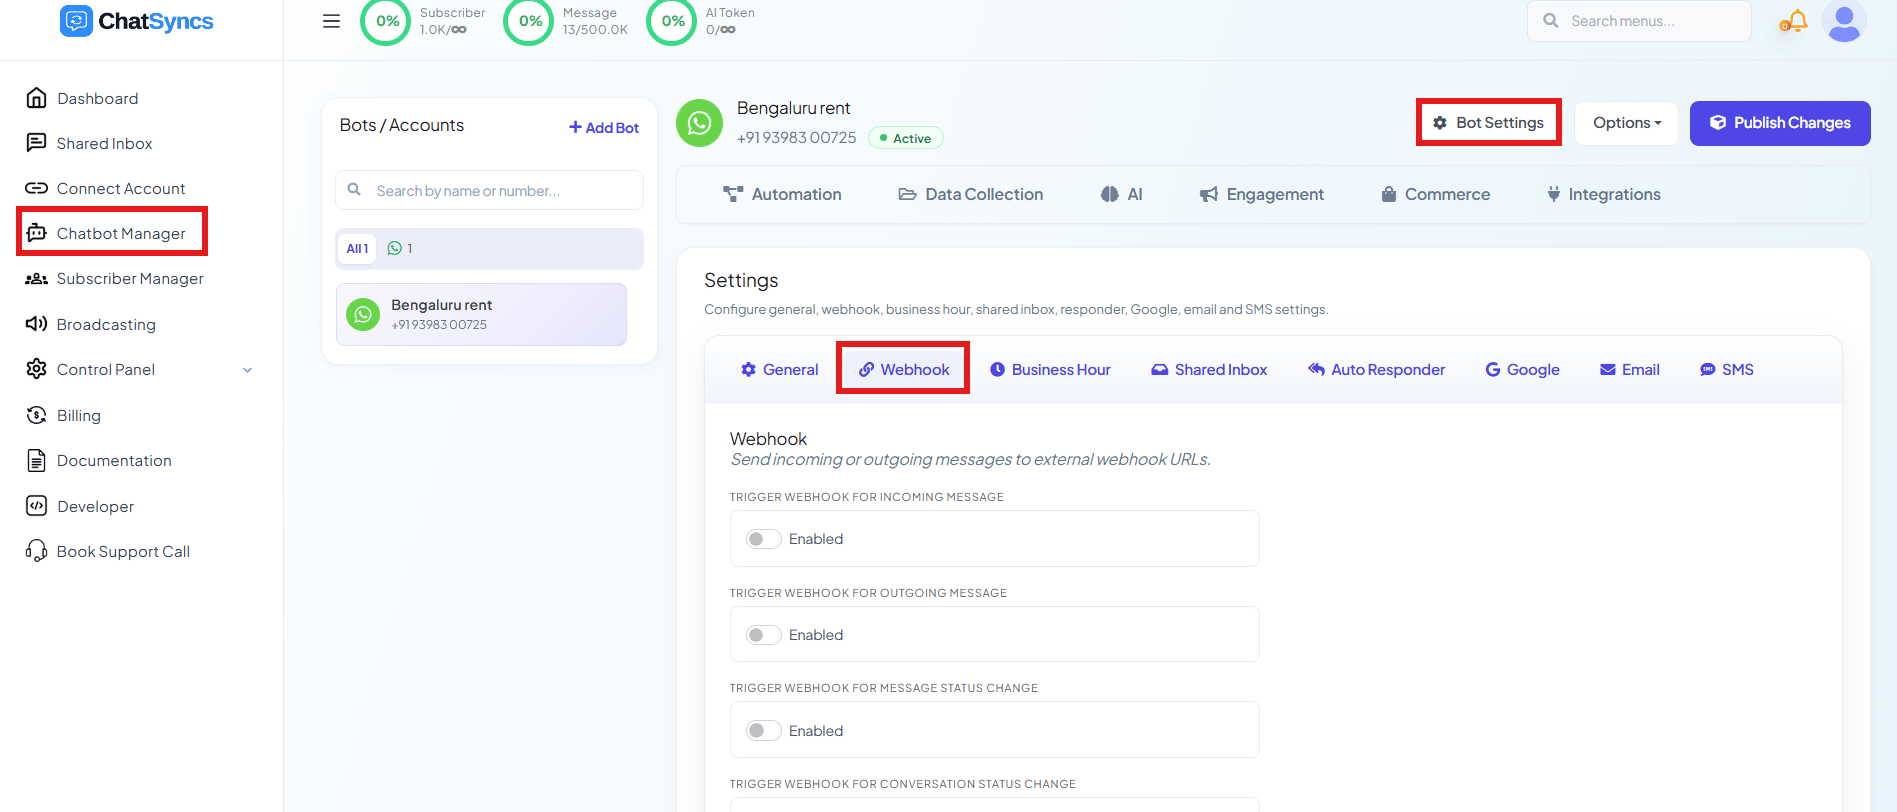
Open Webhook
Go to Chatbot Manager, select your bot, click Bot Settings, then the Webhook tab.
2
Enable the trigger(s) you need
Turn on any of the four toggles.
3
Enter each Webhook URL
Fill in the URL field that appears under each enabled toggle.
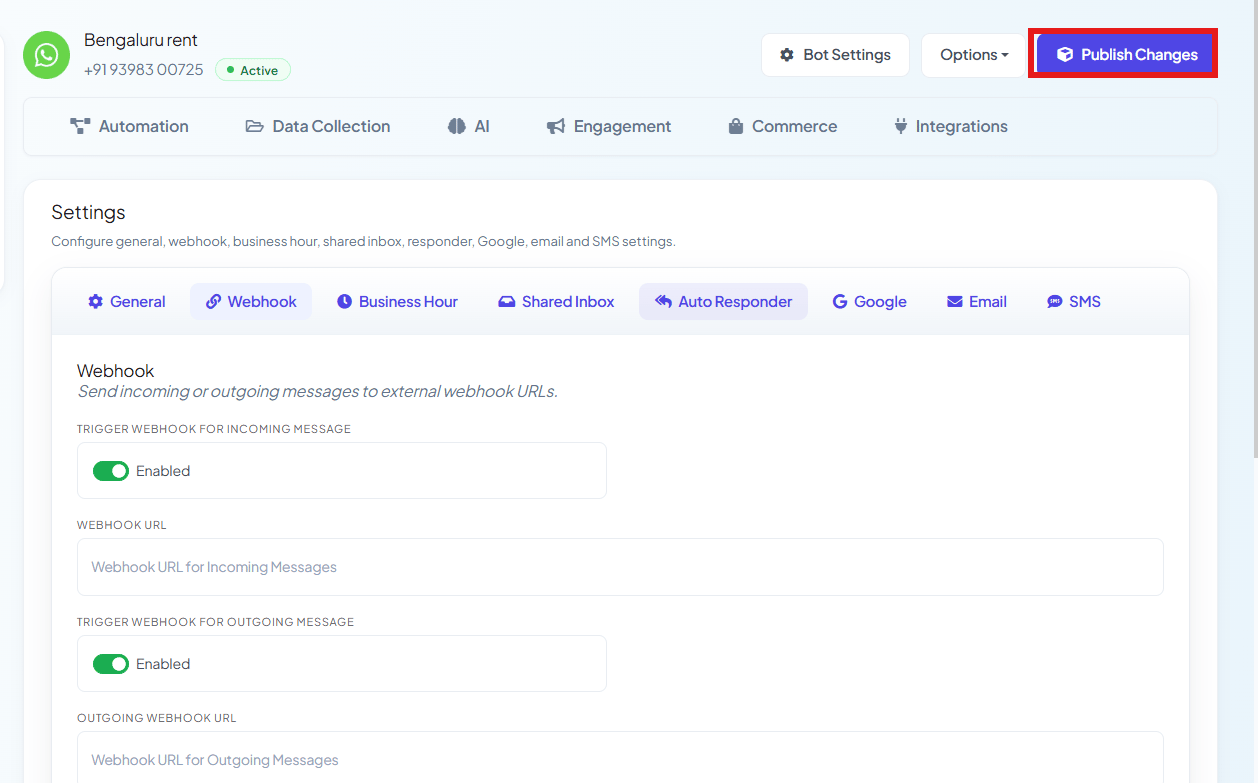
4
Publish Changes
Examples
Every trigger POSTs a JSON body. These are real captured payloads (subscriber phone number, name, and endpoint replaced with placeholders) — every receiving tool (n8n, Make, your own server) wraps the single event in a one-item array like this.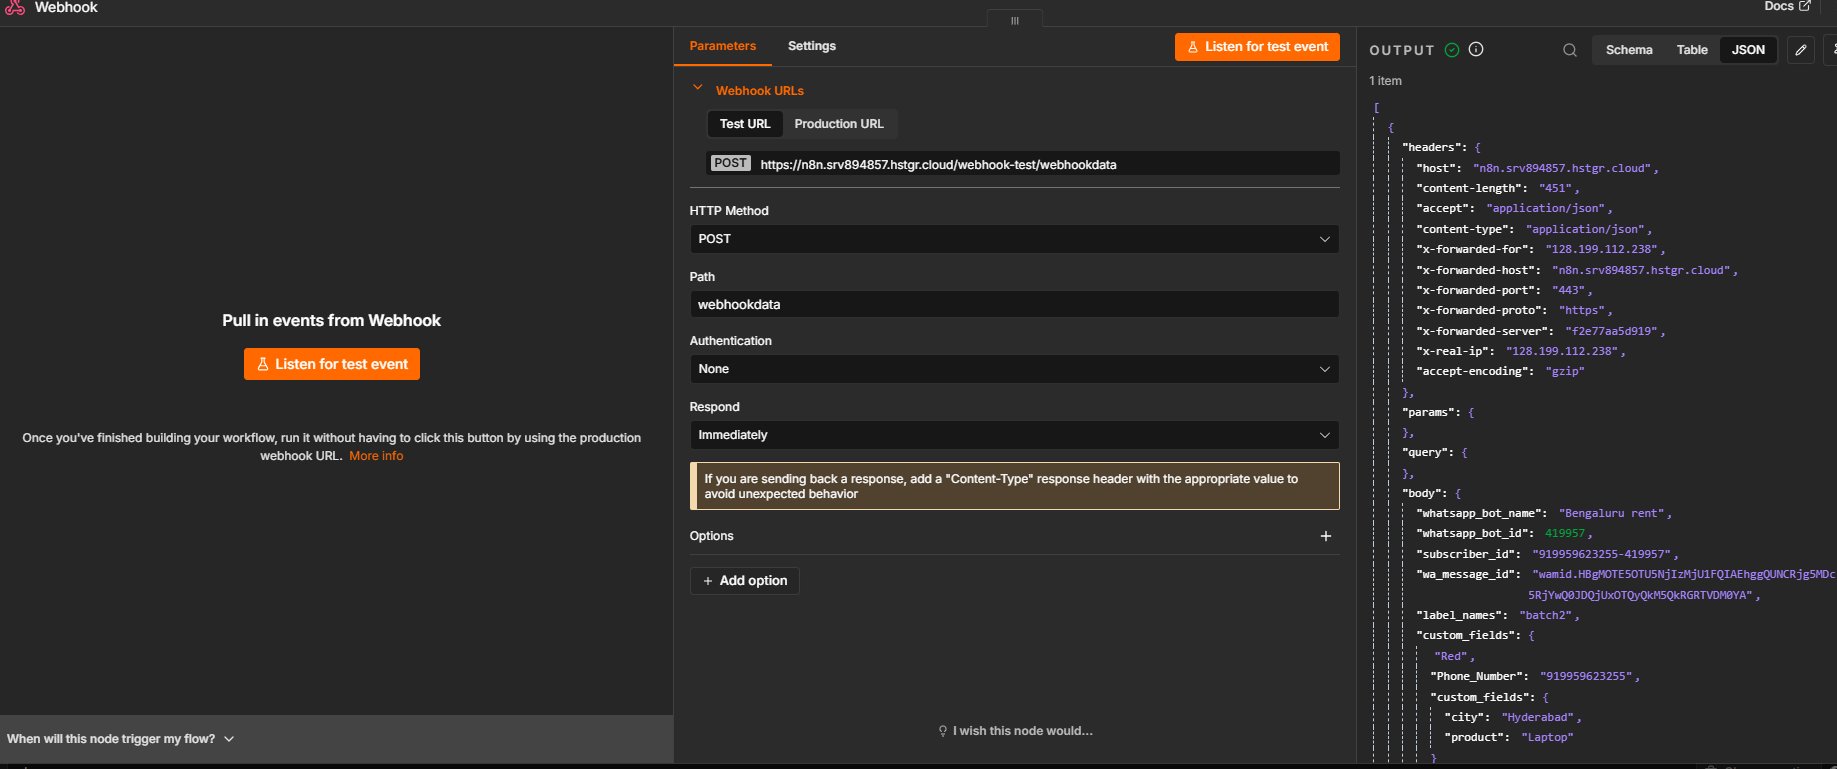
custom_fields carries every Custom Field currently saved on that subscriber — here city and
product — alongside the message itself in user_message.
Outgoing Message — the bot sends a reply.

sent → delivered → read, or fails.
message_status is one of sent, delivered, read, or failed — when it’s failed,
failed_reason carries the reason instead of null.
Conversation Status Change — an agent marks a conversation Resolved in the Shared Inbox
(or via the Mark Conversation Status API).
event— a namespaced identifier for what happened, e.g.conversation.resolved.action— the plain status name: one ofresolved,reopen,archived,unarchived,blocked, orunblocked— the same states as the Mark Conversation Status API.action_status—"1"confirms the change actually succeeded.agent_name— which team member (or system) made the change.changed_at— when it happened, in your account’s local time.wa_message_idandlabel_namesarrive empty here — a conversation status change isn’t tied to one specific message or label, unlike the other three triggers.
Frequently asked
Do I have to enable all four triggers together?
Do I have to enable all four triggers together?
No — each toggle and its URL field is independent. Enable only the ones you actually need.
Can each trigger send to a different URL?
Can each trigger send to a different URL?
Yes — every trigger has its own Webhook URL field, so you can route incoming messages to one
system and status changes to another.
What's the difference between Message Status Change and Conversation Status Change?
What's the difference between Message Status Change and Conversation Status Change?
Message Status Change tracks one message’s delivery lifecycle (sent/delivered/read/failed).
Conversation Status Change tracks the whole conversation’s state (resolved, archived,
blocked, etc.) — see Mark Conversation Status
for the same states via the API.
Where do I enable these?
Where do I enable these?
Chatbot Manager → [your bot] → Bot Settings → Webhook tab — see How Do I Turn On
Webhook Triggers for My Bot? for the full Bot Settings
reference.