

Before you start
- A Claude account on any plan. Free allows one custom connector; Pro and Max allow more. On Team or Enterprise, an Owner adds ChatSyncs for the organisation first (see below).
- Your ChatSyncs API key, from the API Developer Console. How to find it.
- A computer. You add the connector on claude.ai or Claude Desktop. It then works in the Claude mobile app too.
Connect
1
Open your connectors
In Claude, go to Customize → Connectors, or open
claude.ai/customize/connectors.
2
Add a custom connector
Click + Add (if you see it), then Add custom connector.
3
Enter the name and address
- Name:
ChatSyncs - URL:
4
Choose the sign-in options
Claude shows the authentication settings it detected. Make sure they read:
- Authentication: Sign in now
- OAuth client: Register automatically. Do not pick Use Claude’s published identity: ChatSyncs doesn’t support it, and you’d get an “Unknown application” page.
- Request headers: leave empty.
Some accounts see a shorter form with just a name, a URL and Advanced settings. In that
case, leave Advanced settings empty and click Add.
5
Paste your key on the ChatSyncs page
A ChatSyncs page opens in your browser saying “Claude wants to access your ChatSyncs
account”. If it doesn’t open by itself, click Connect next to ChatSyncs. Paste your API
key and click Authorize Claude.You’ll see Connected as your business name for a moment, then you’re back in Claude.
6
Turn it on in a chat
In a chat, click + (bottom left), open Connectors, and make sure ChatSyncs is
switched on.
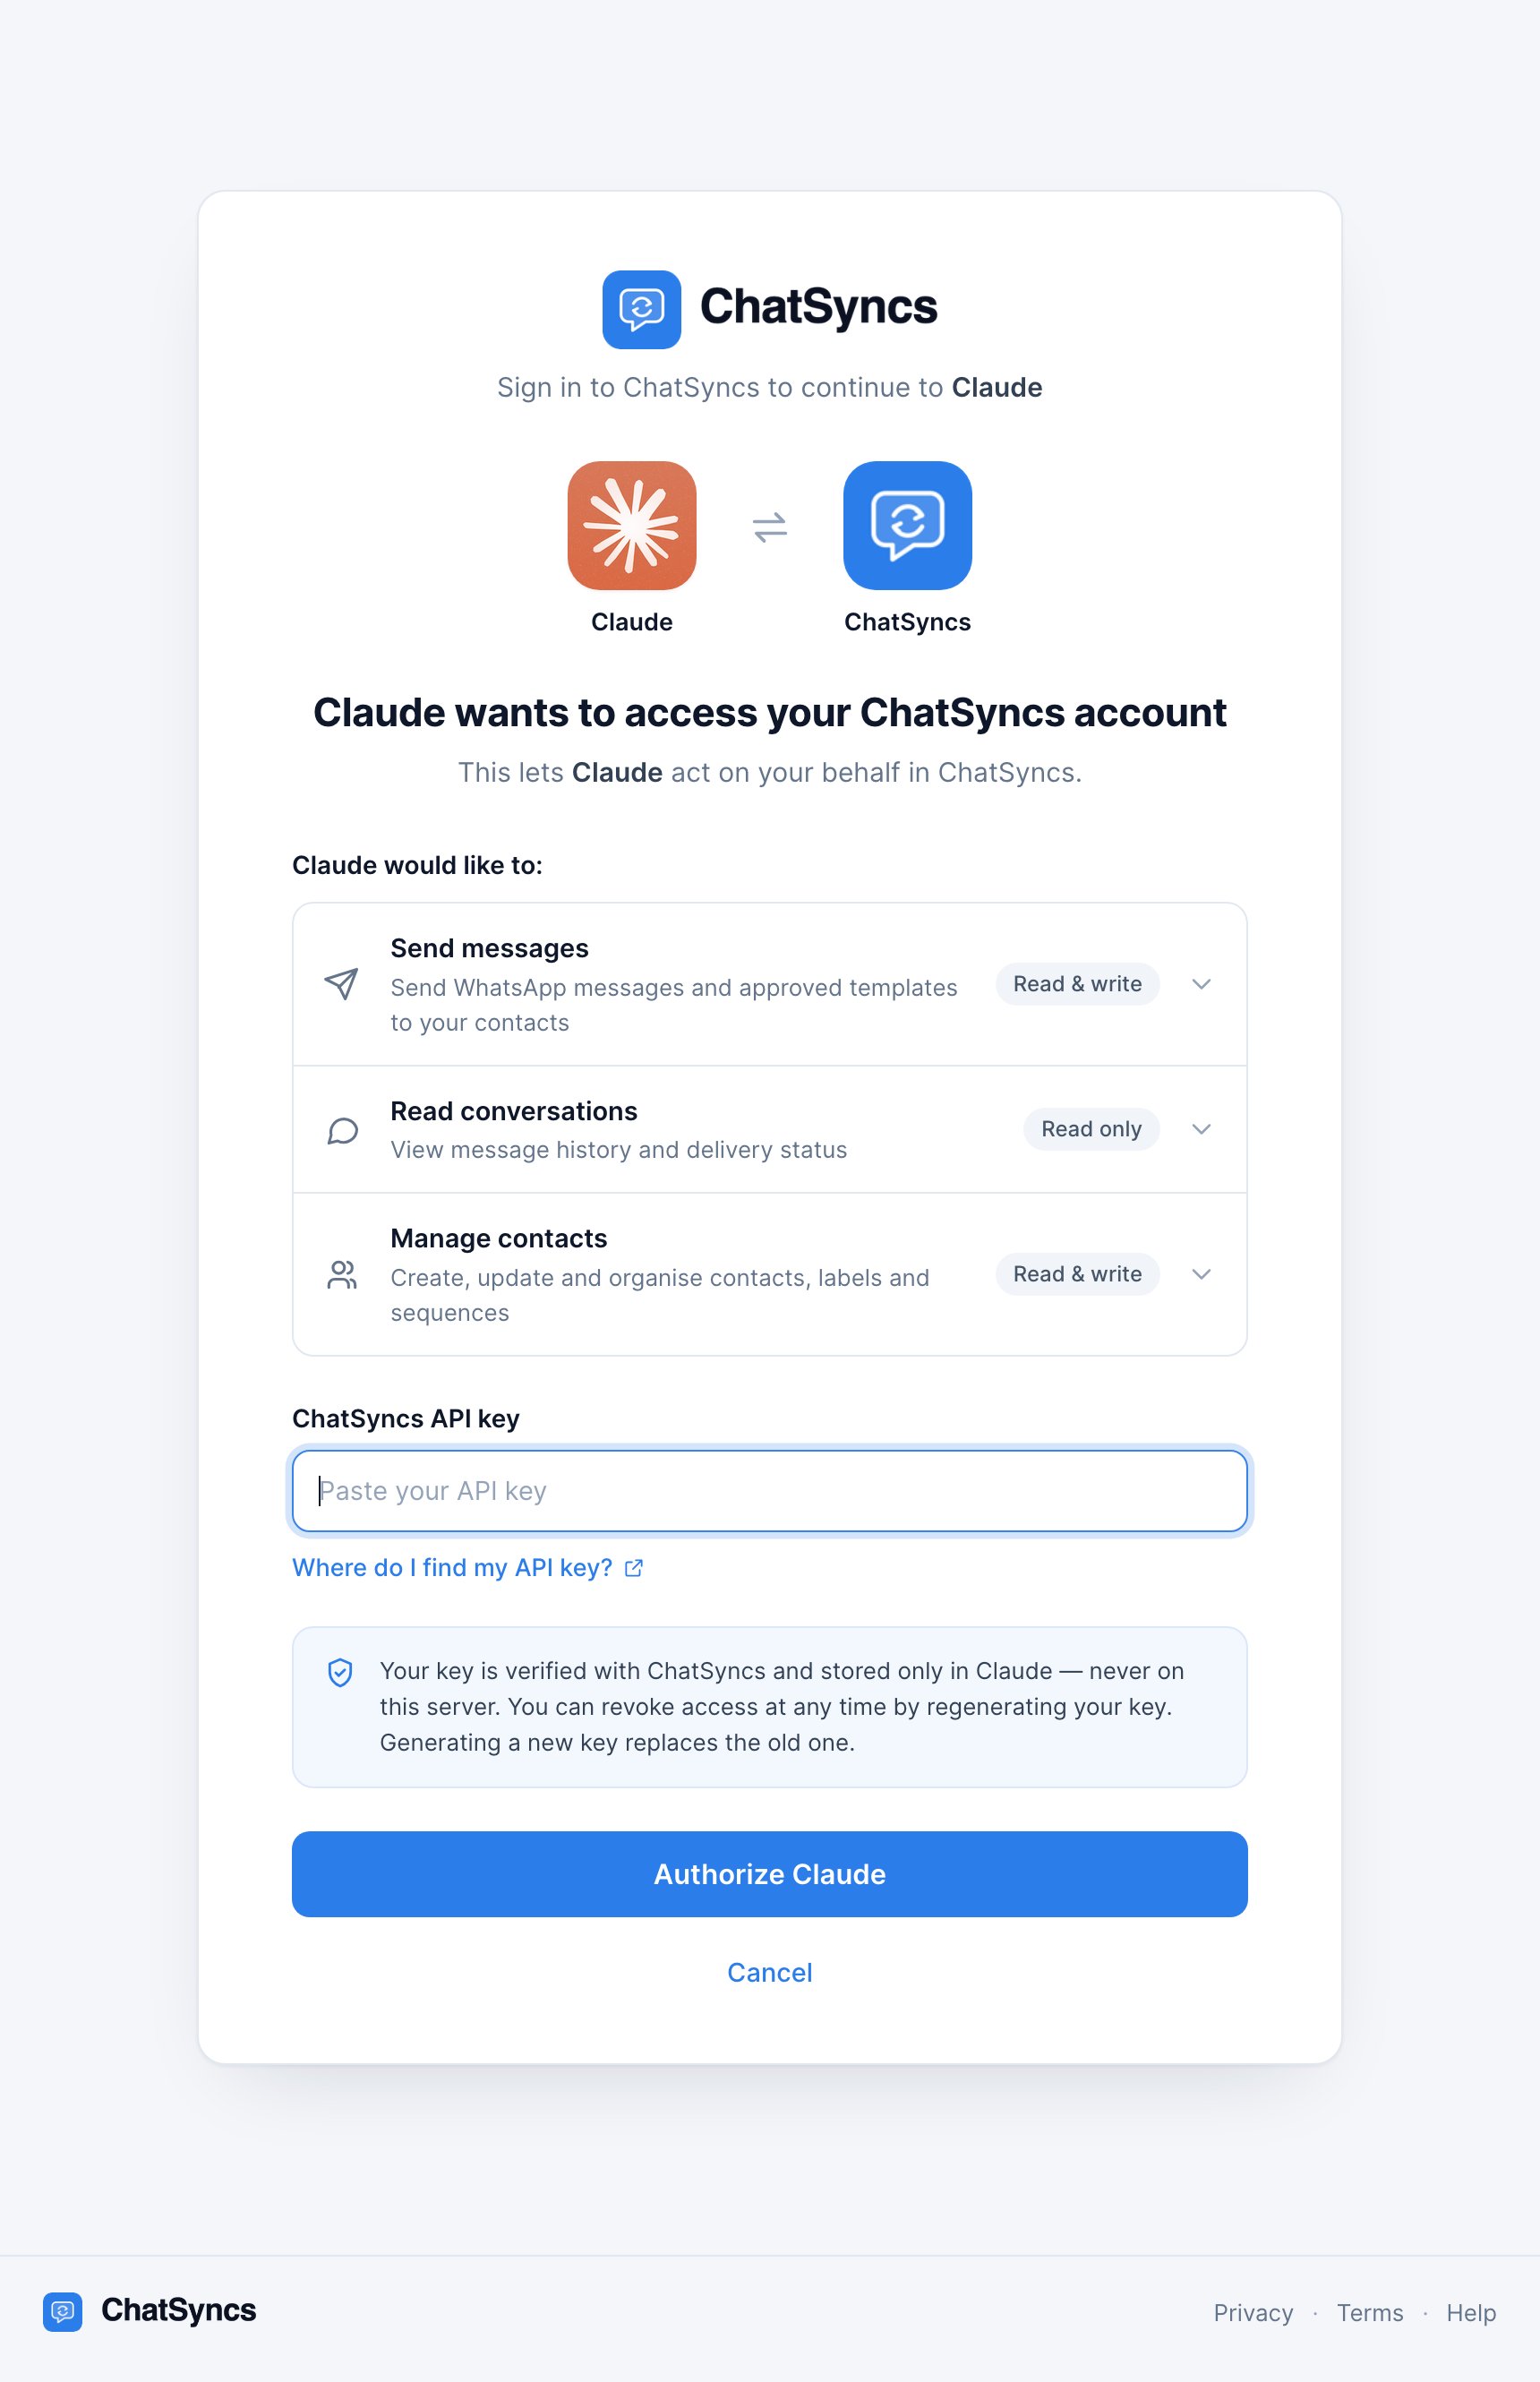
The page Claude opens in step 5. Check the address starts with https://mcp.chatsyncs.com before you paste your key.
On Team or Enterprise
An Owner sets it up once:- Go to Organization settings → Connectors and click Add.
- Choose Custom, then Web.
- Enter the name
ChatSyncsand the URLhttps://mcp.chatsyncs.com/mcp, then click Continue. - Choose Sign in now and Register automatically, leave request headers empty, and click Add.
Check it worked
Start a new chat with ChatSyncs switched on and ask:“List my WhatsApp templates.”Claude asks permission to use the ChatSyncs tool, then shows your templates and says which can be sent. You can also try “Show me my ChatSyncs account details” to see your plan and connected numbers.
Disconnect
- Go to Customize → Connectors (Team and Enterprise Owners: Organization settings → Connectors).
- Find ChatSyncs and click Remove (or use the ⋯ menu).
Frequently asked
Does it work on the Claude mobile app?
Does it work on the Claude mobile app?
Yes. Add ChatSyncs on claude.ai or Claude Desktop first. Claude connects to ChatSyncs from
Anthropic’s servers, not from your phone, so the connector then works in the iOS and Android
apps as well. Turn it on per chat from the + menu.
Will Claude message customers without asking me?
Will Claude message customers without asking me?
By default Claude asks before it uses a tool. You can review each ChatSyncs ability in
Customize → Connectors and set it to Always allow, Needs approval or Blocked.
For example, block
delete_subscriber entirely. Keep anything that sends messages on
Needs approval.I'm on the Free plan and already have a custom connector
I'm on the Free plan and already have a custom connector
Free allows one custom connector. Remove the other one first, or upgrade to Pro.
I use Claude Code too. Do I need to set it up again there?
I use Claude Code too. Do I need to set it up again there?
Usually not. If you sign in to Claude Code with your claude.ai account, connectors you added
on claude.ai appear there automatically. Check with
/mcp in Claude Code.Can I paste the key as a request header instead?
Can I paste the key as a request header instead?
Only if your account shows a Request headers section (it’s a limited beta). You’d choose
No sign in and add an
authorization header with the value Bearer YOUR_KEY. Browser
sign-in is simpler and works for everyone.